
Lighting design in the process: the dimensions of lighting design
Plan the lighting according to the principle of "less is more". Use as few light points as possible, but as many as necessary.
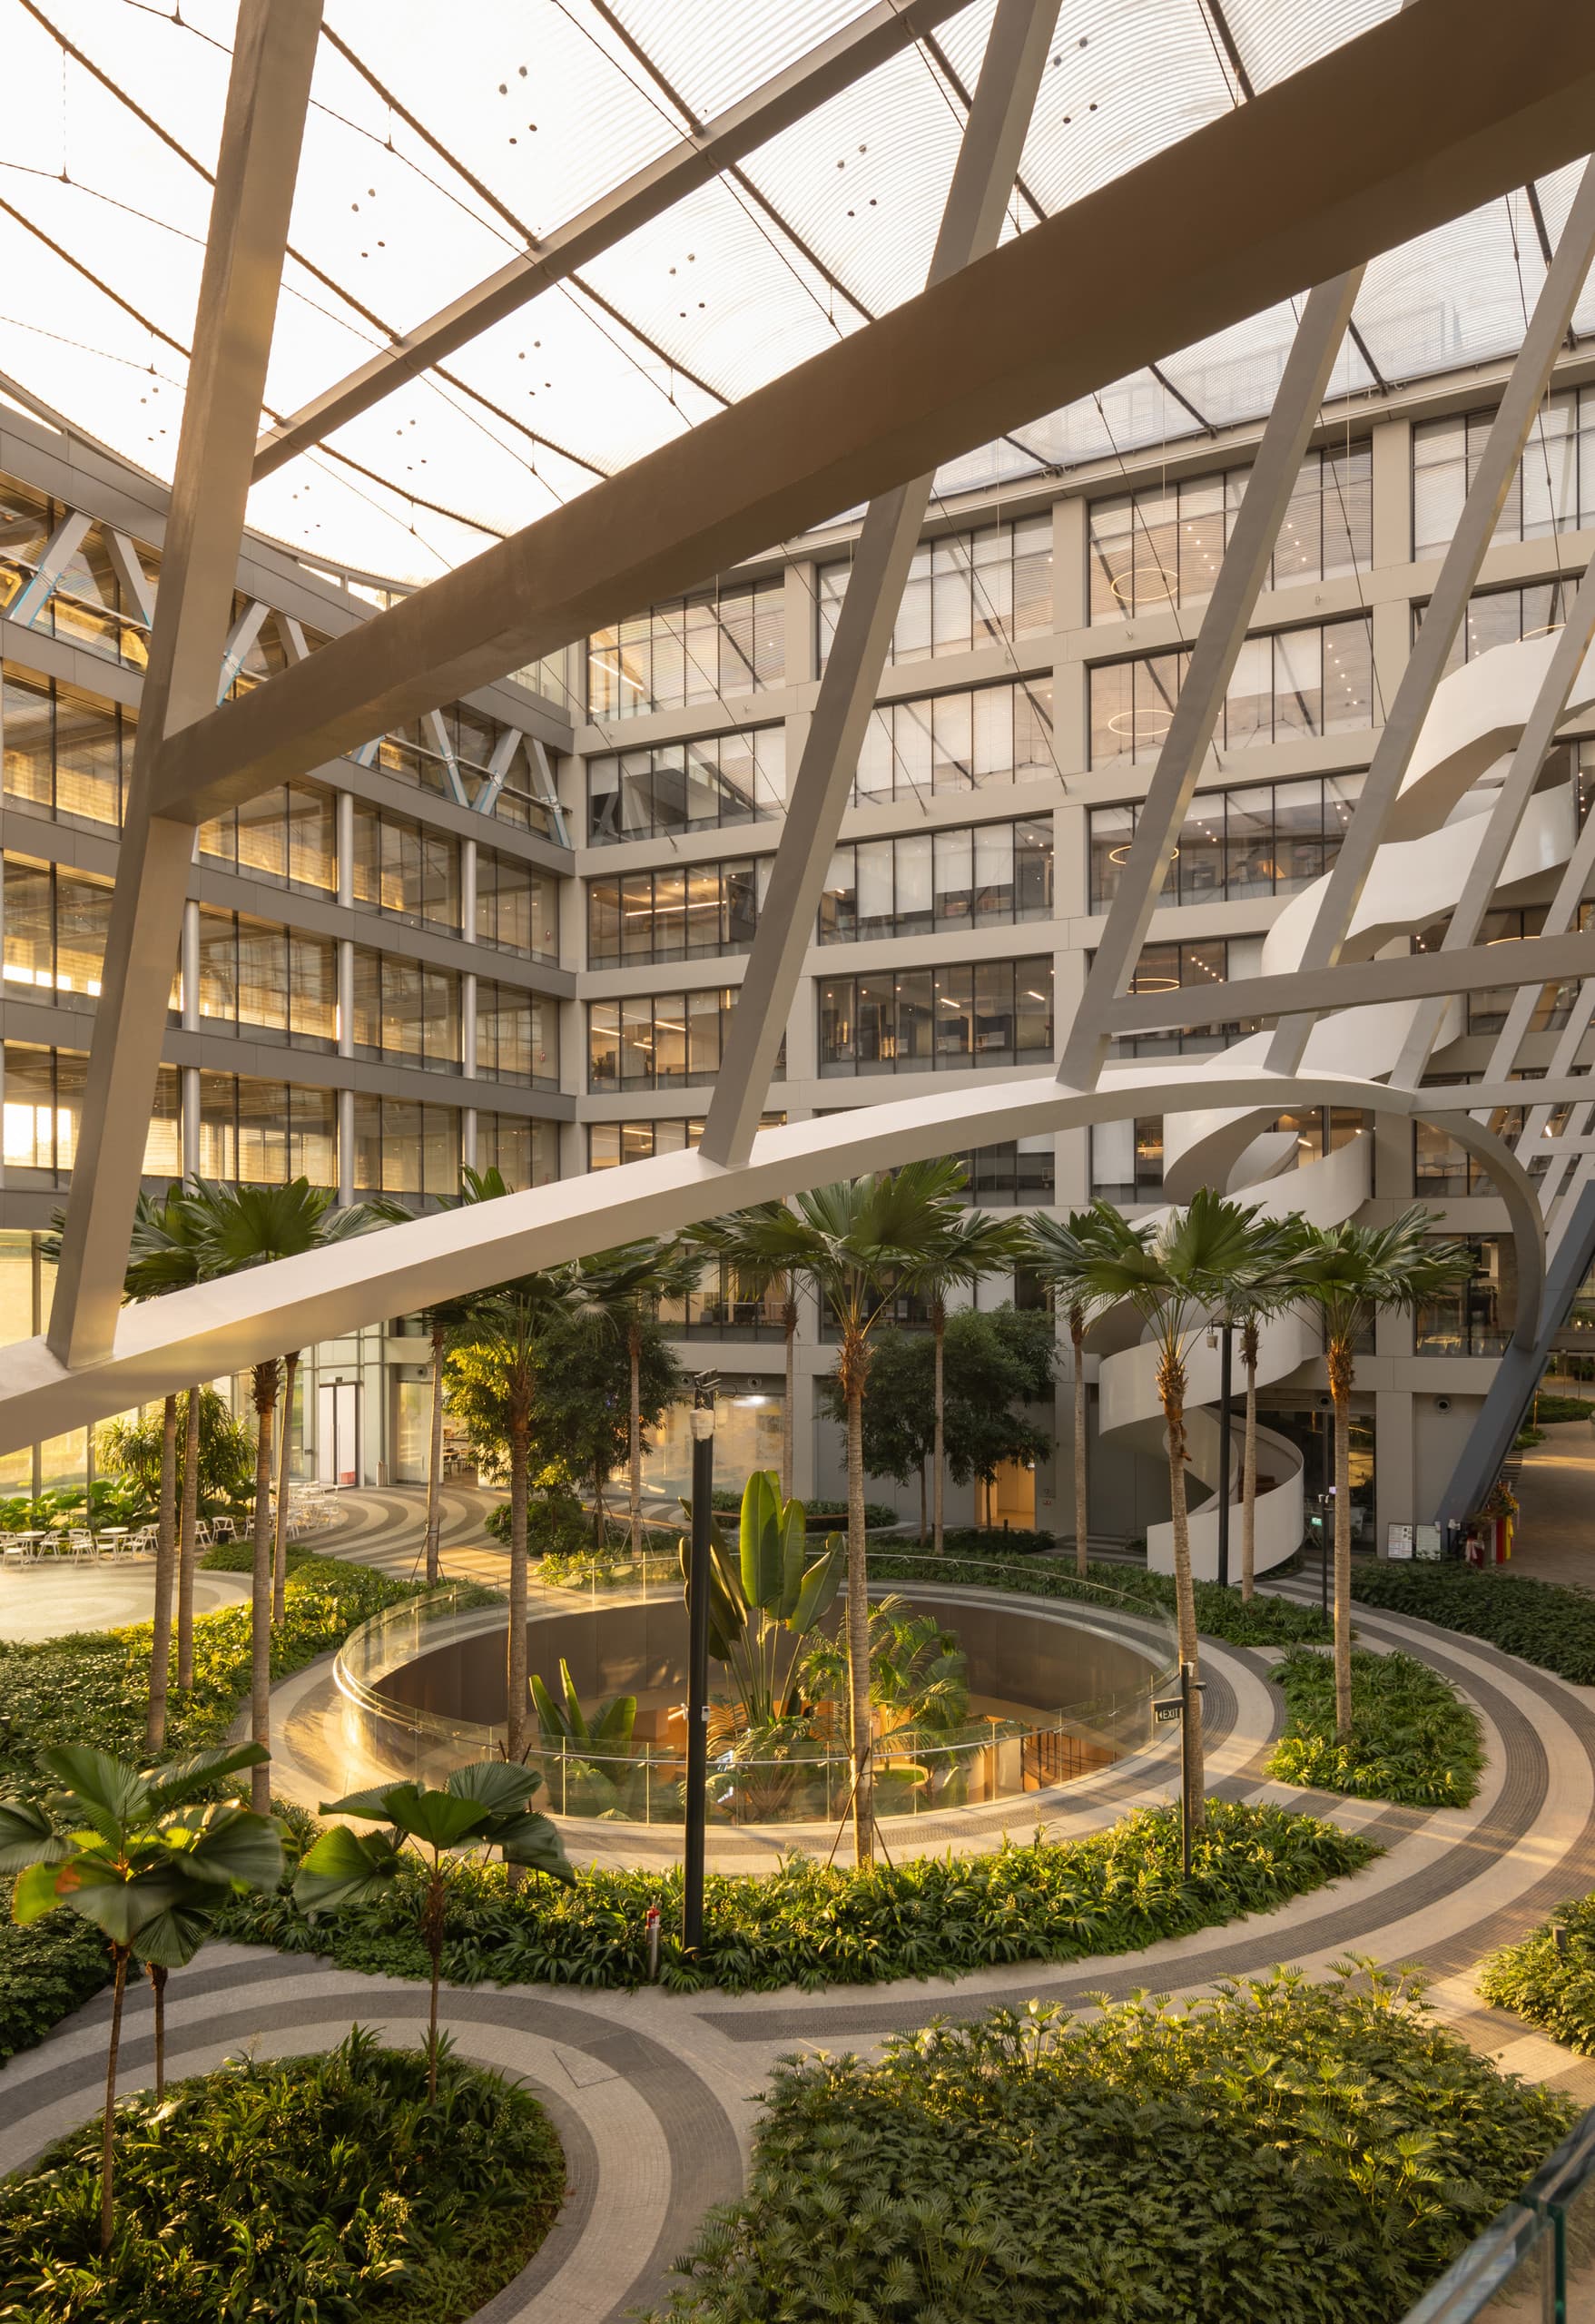
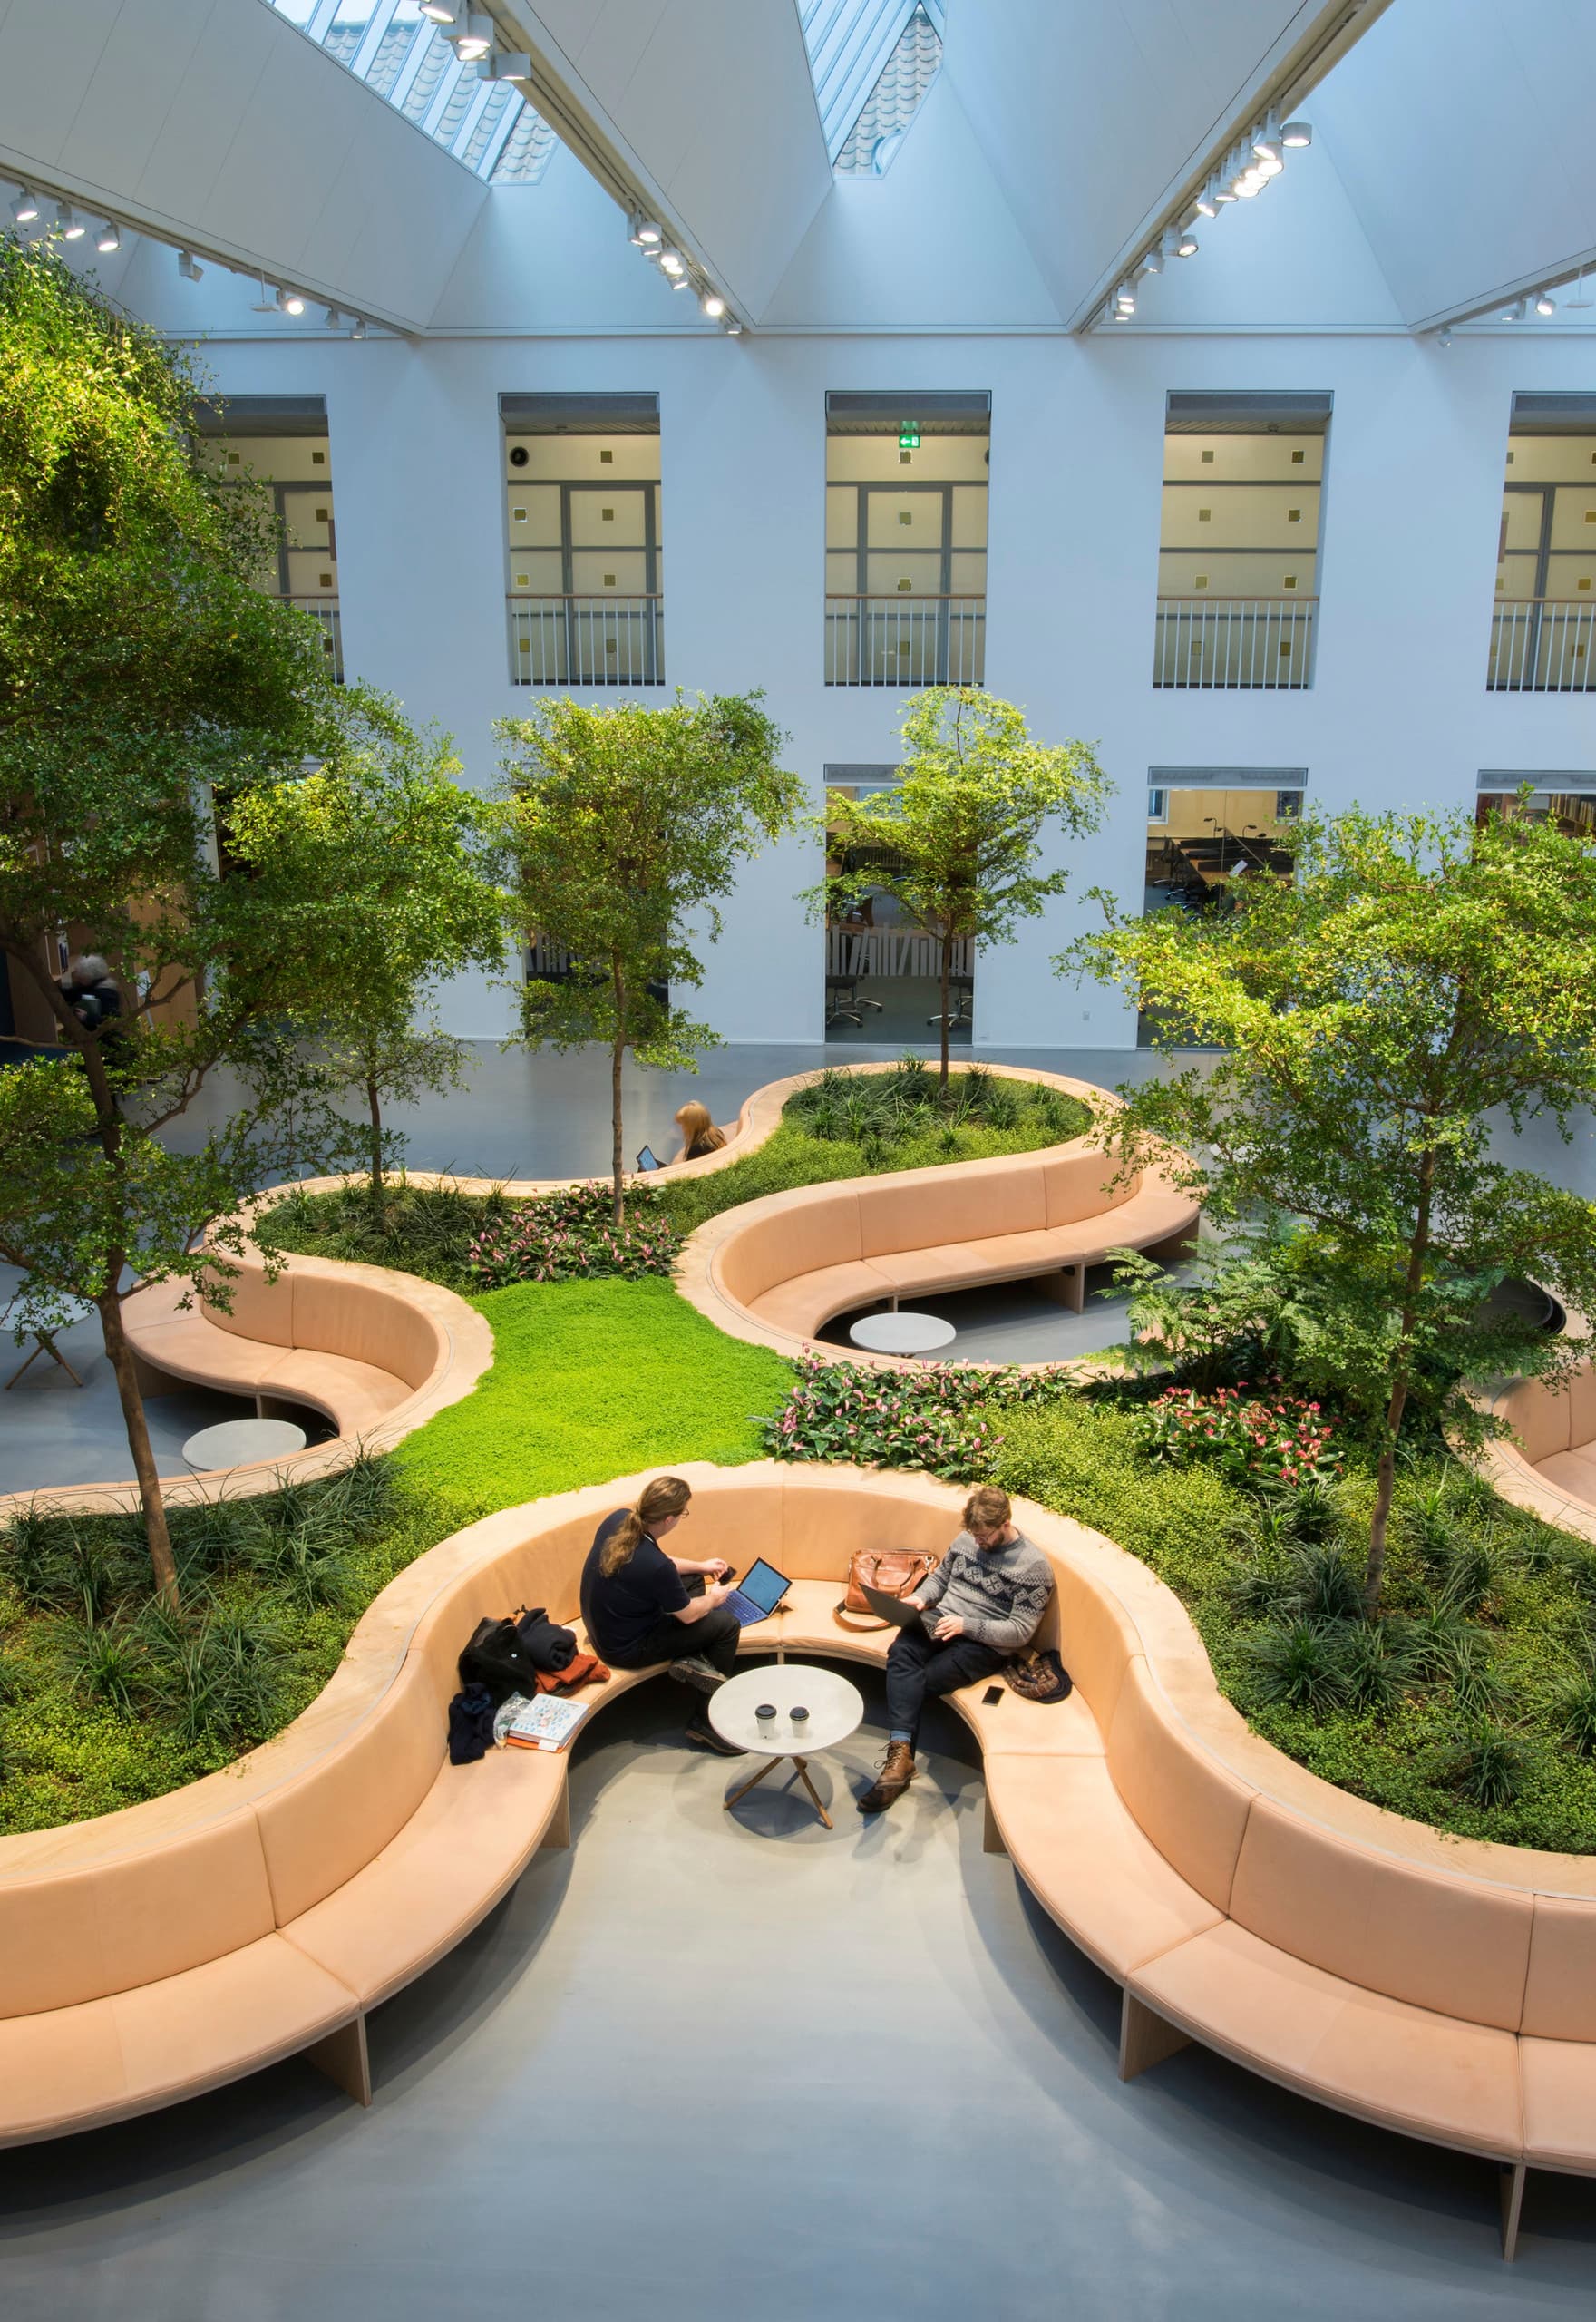
When you think of light and architecture together, clear, strong concepts emerge. Integrate light into furniture, display cases, or building components, and thereby reduce the general lighting. Use the existing architecture to check the effect, the visual comfort, and the atmosphere in reality.
Ask your clients the right questions!
Process and collaboration
- Who takes on the lighting design? Architects, specialist planners, or manufacturers.
- Is there a need for visualisations, samples, or even mock-ups?
- Goal: a clear workflow without friction losses later on
A good lighting designer can answer these questions clearly, concretely, and vividly. Not only technically, but also in images and effects.

Clarify early on how the lighting design will be carried forward in the project.
Determine early on who is responsible for the lighting design: the planning team, external lighting designers, the electrical planning team, or the luminaire manufacturer with design support.
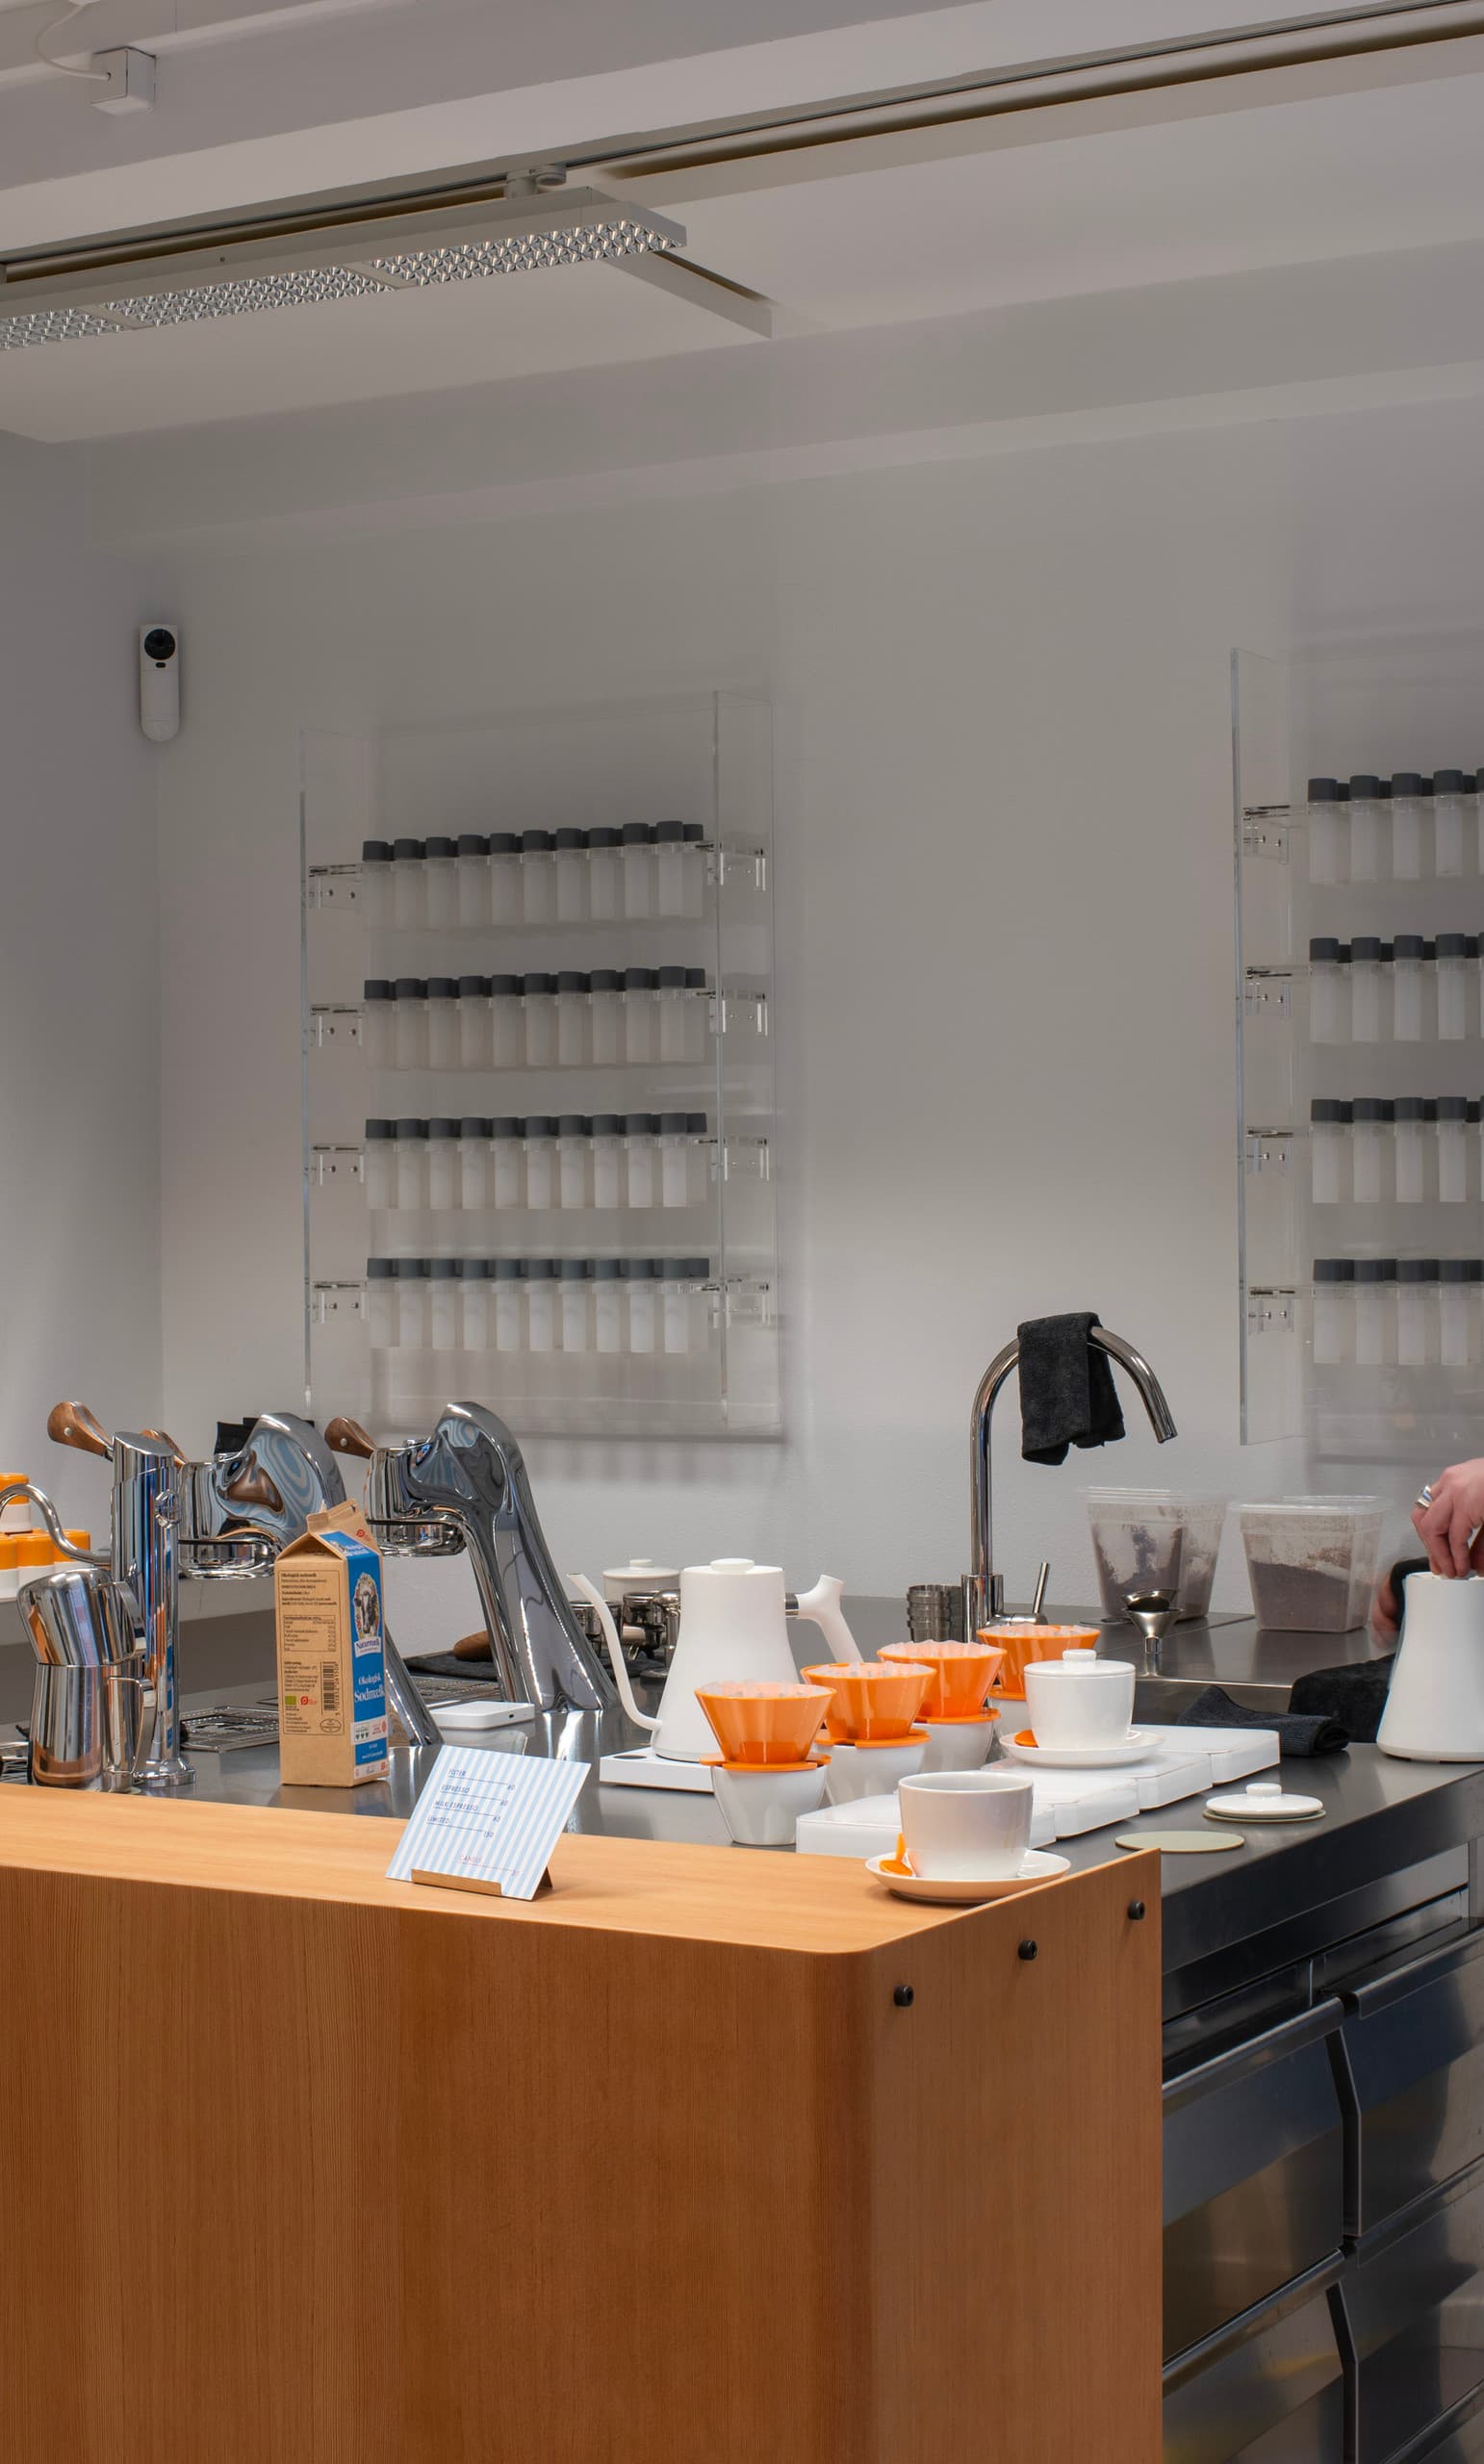
The more clearly tasks, roles, and decision-making paths are distributed, the more reliable and efficient the further design process becomes.
Define the design phases. Light requires a different depth of detail in the design stage than in the detailed design.
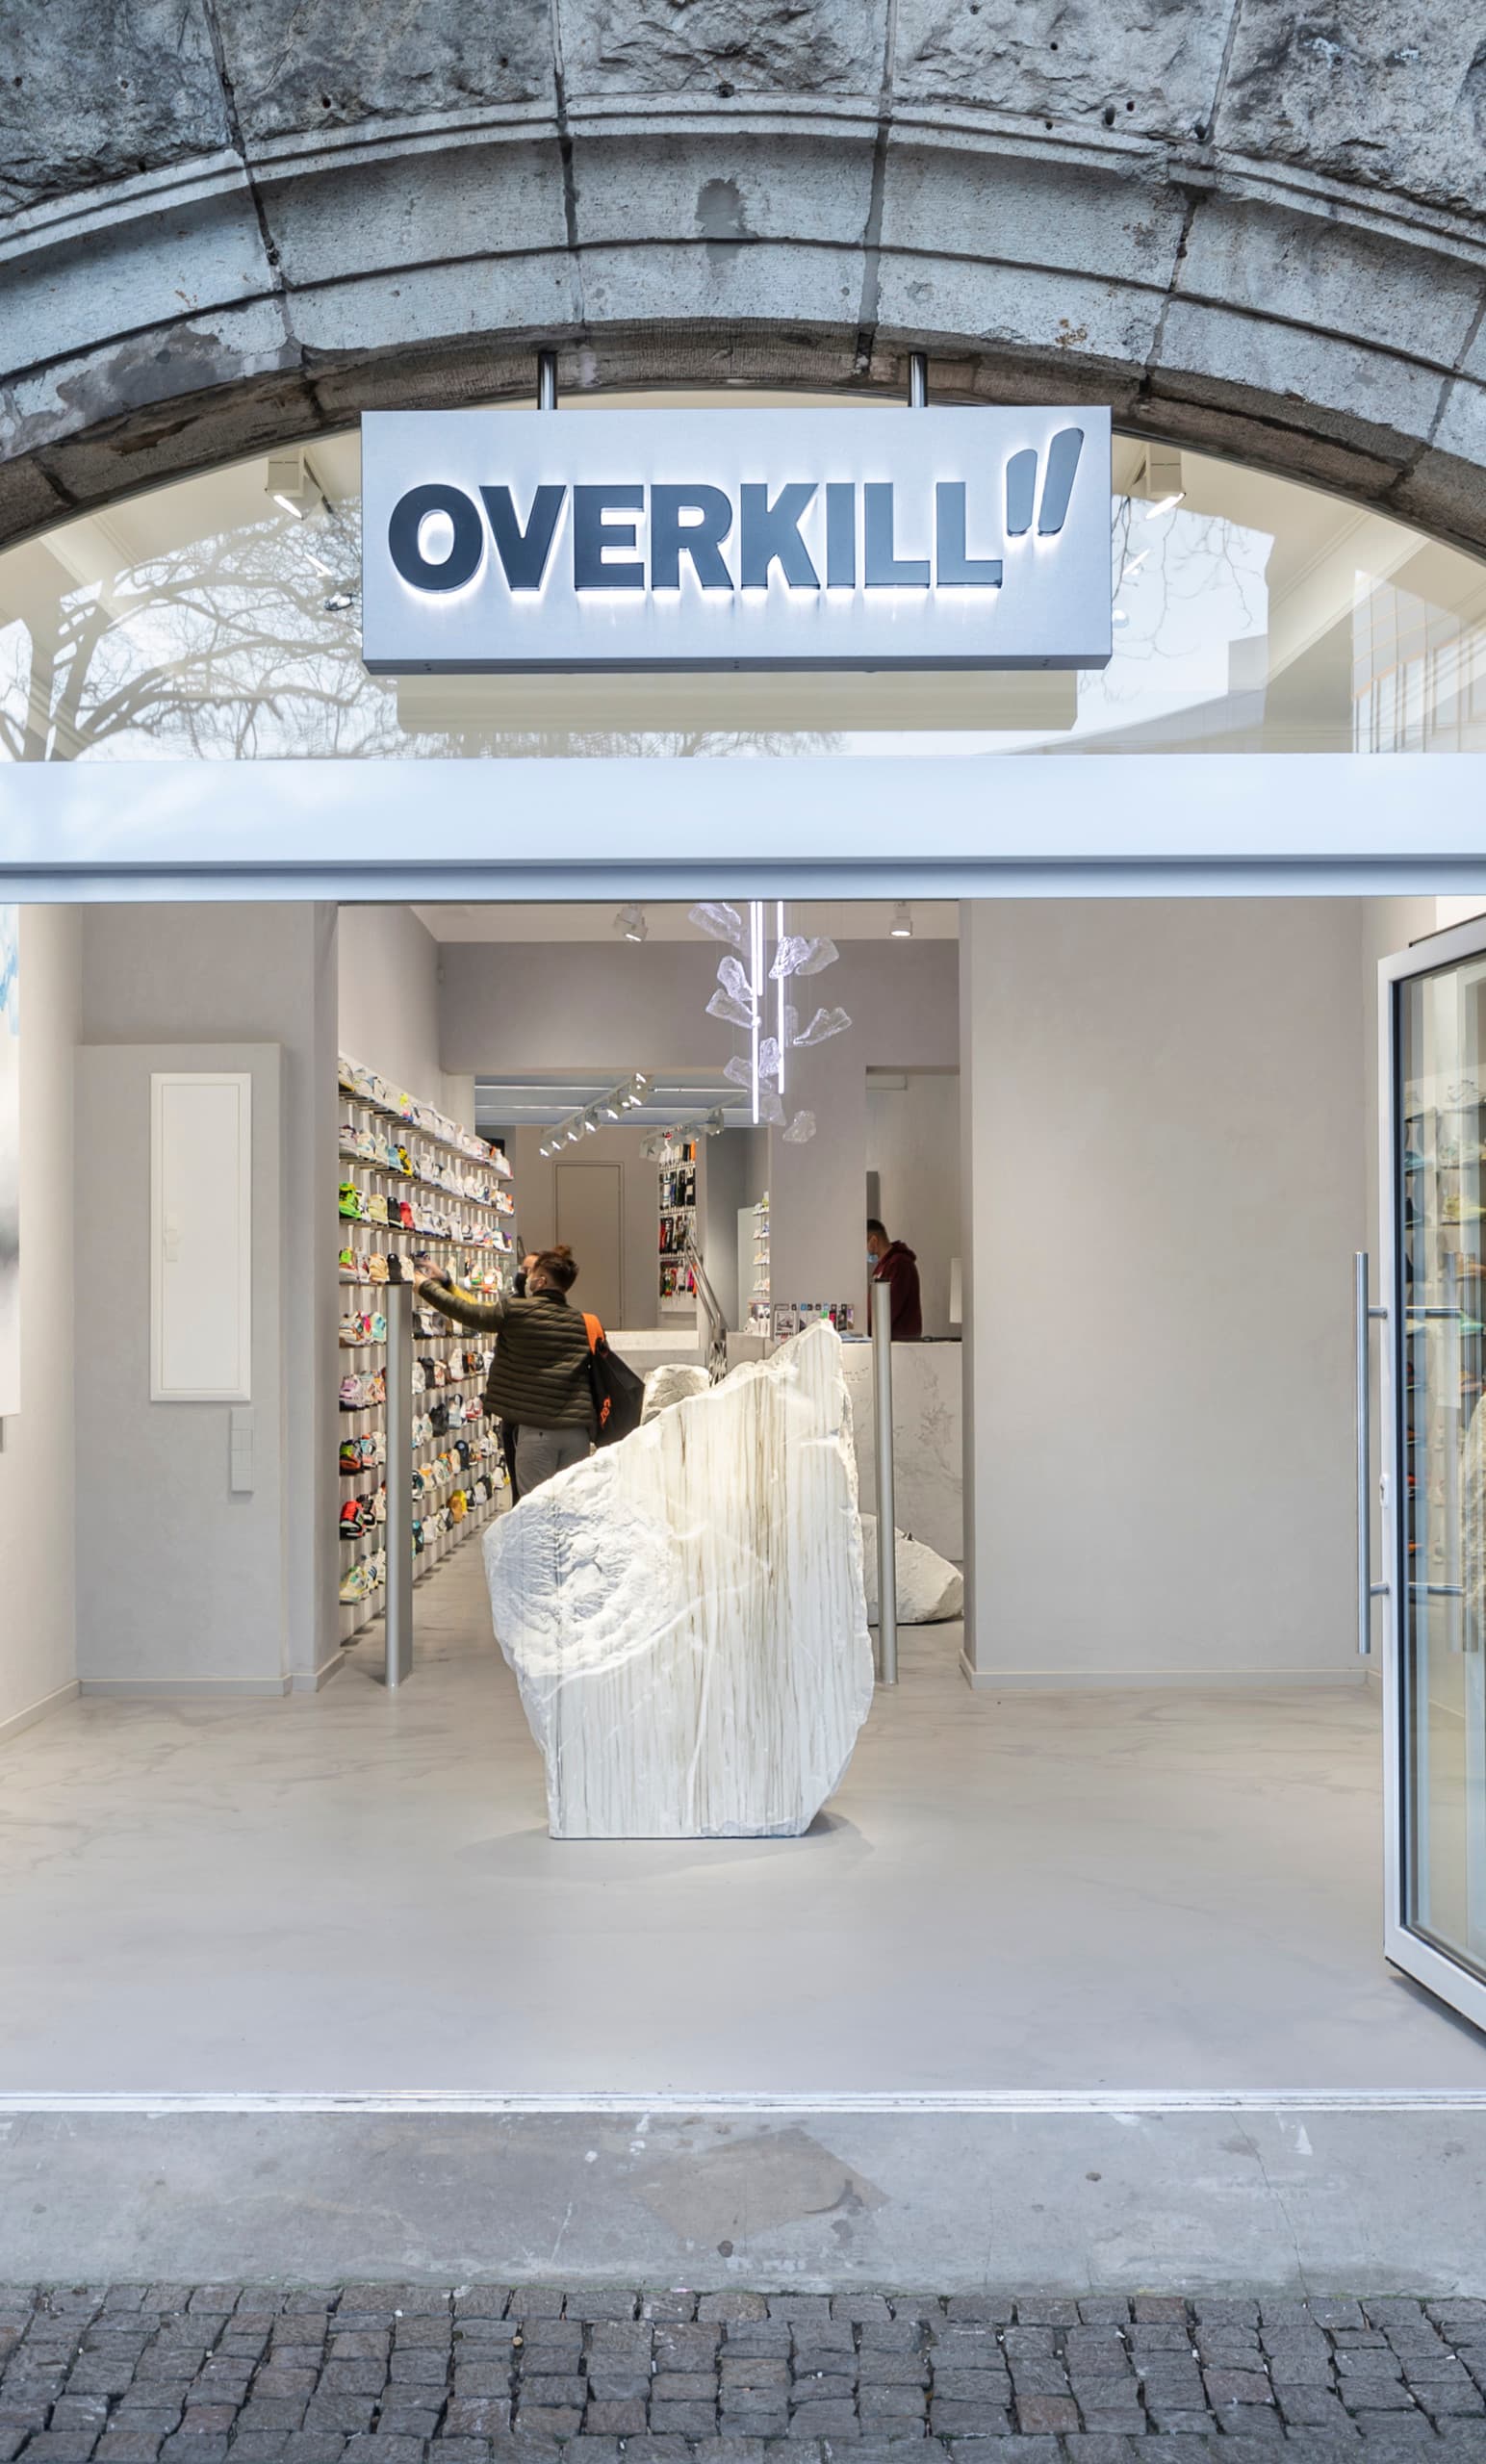
The early phase is about atmosphere, use, perception, and the architectural idea.
Luminaire positions, light distributions, control, installation details, electrical connections, and technical documentation follow later.
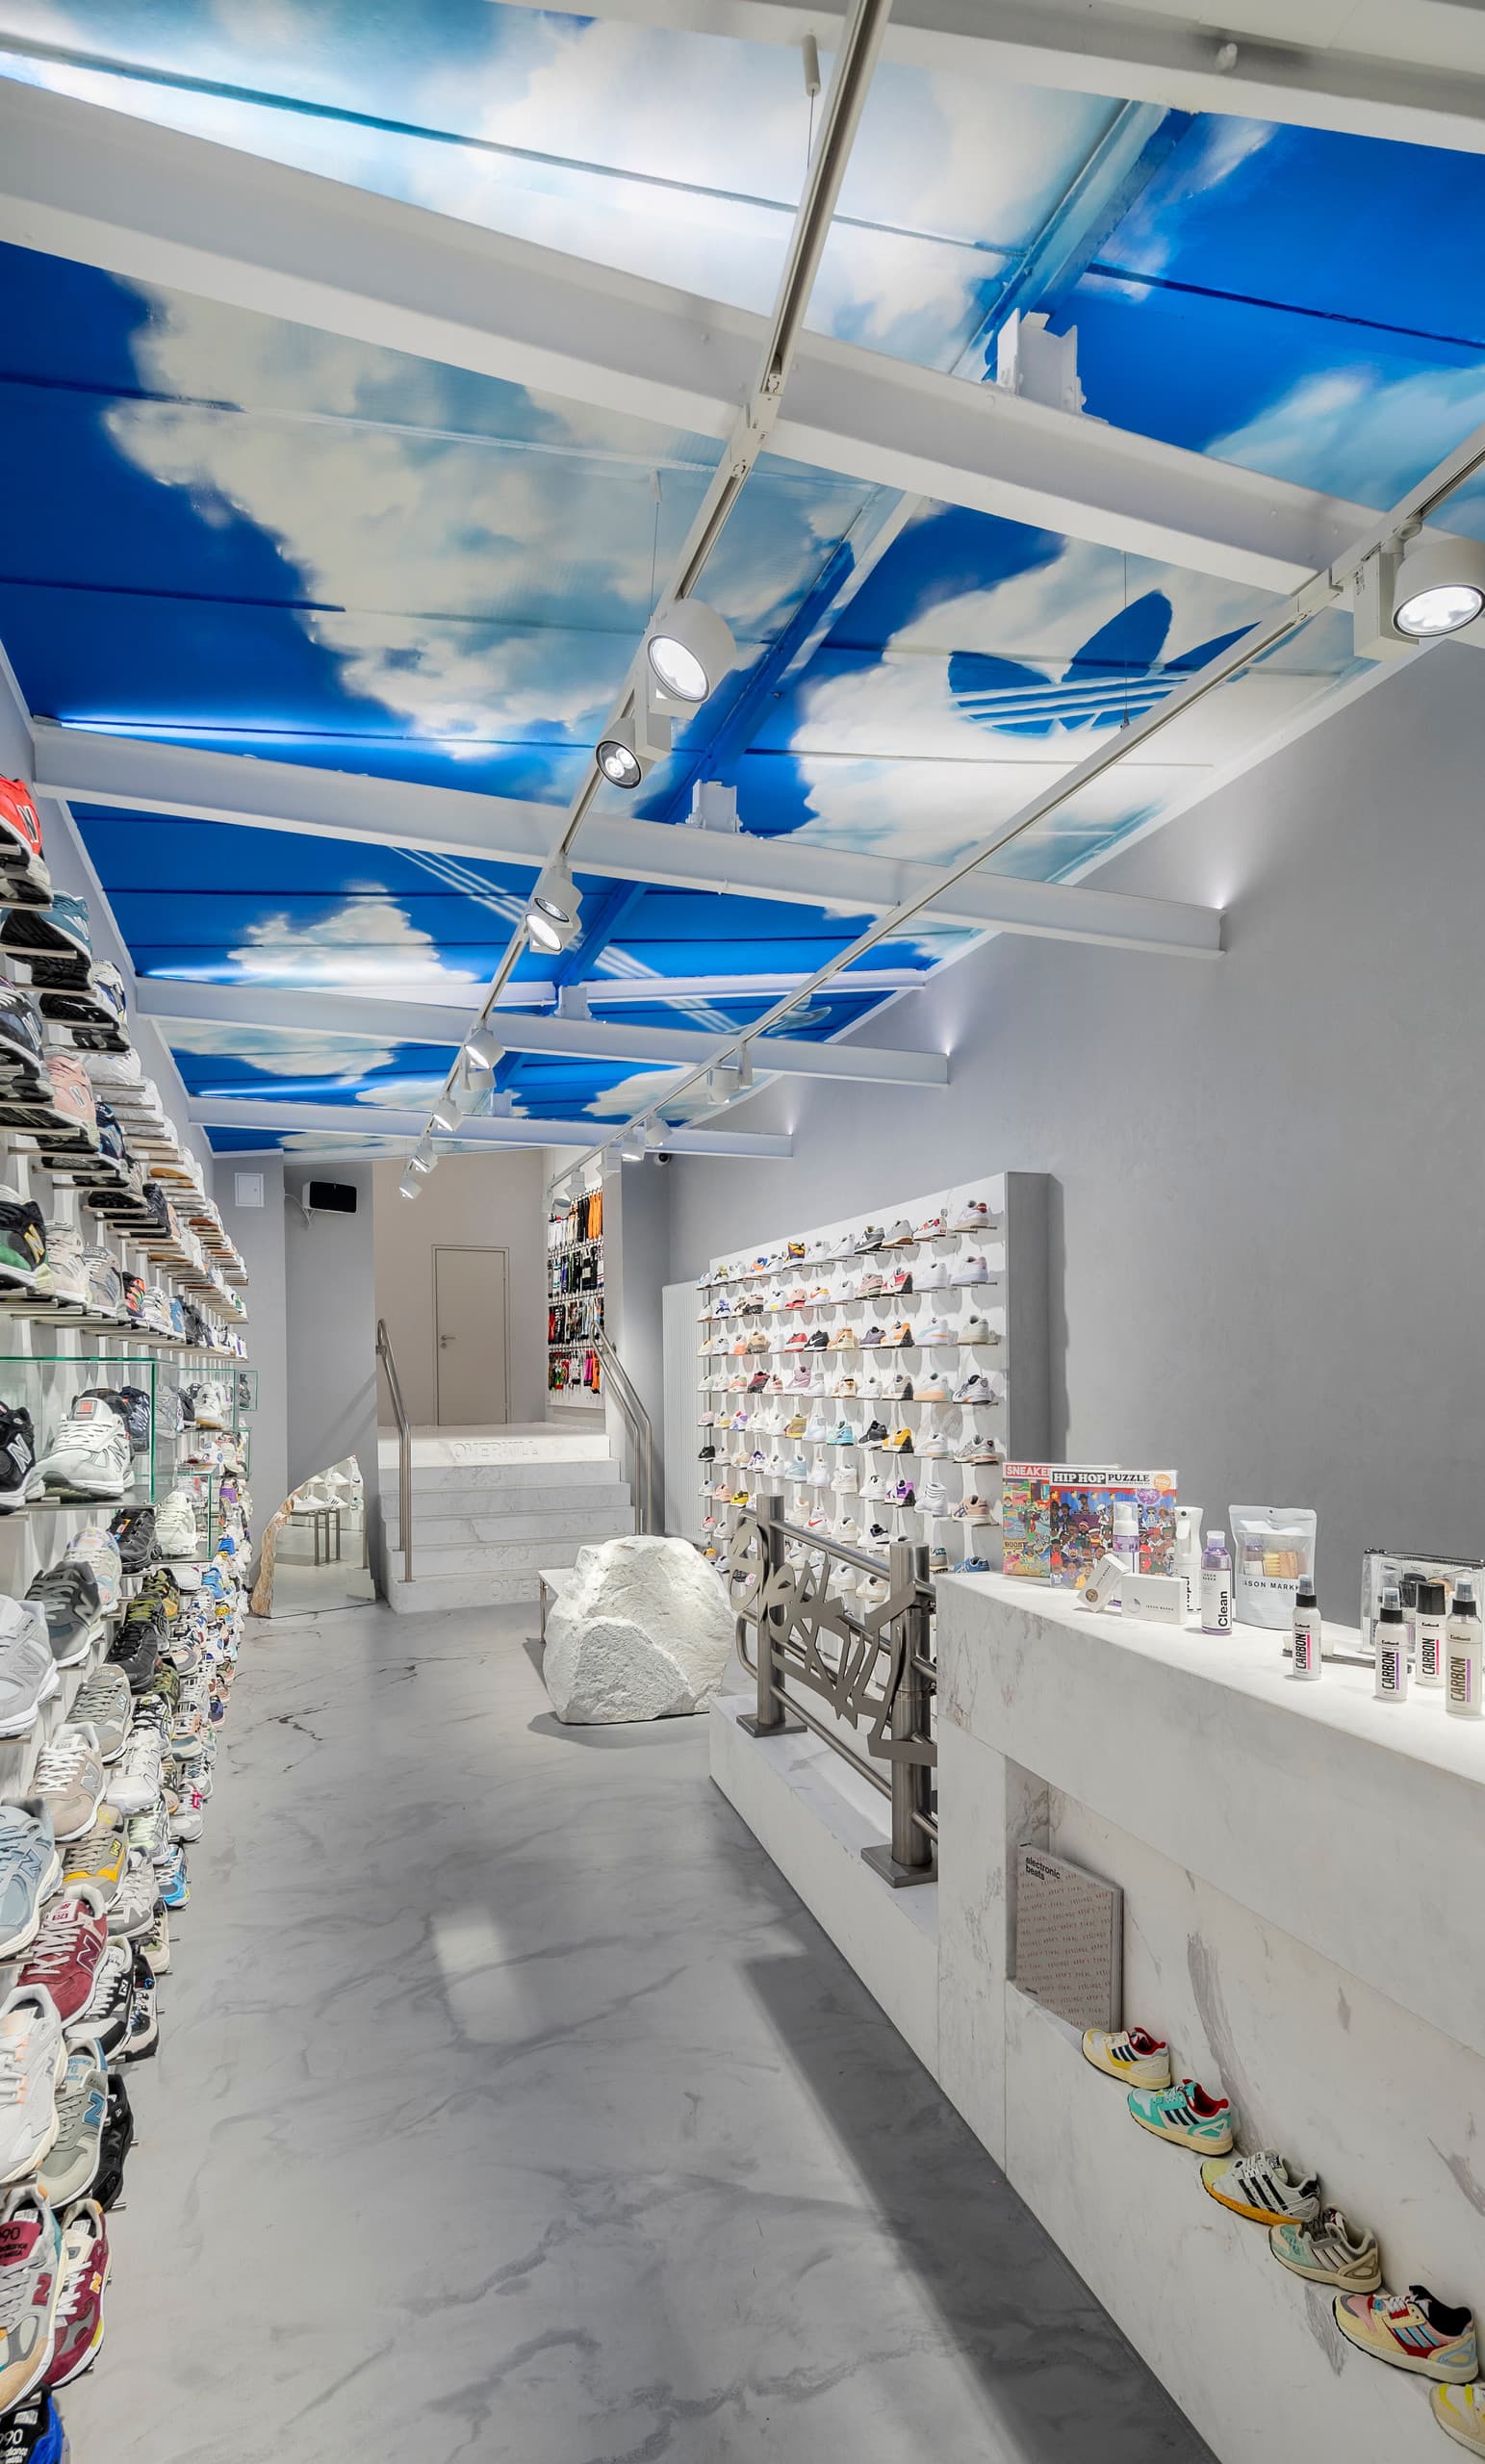
Do not make lighting decisions only at the end. Check early on which solutions affect the shell construction, the ceiling structure, the furnishing, or the electrical planning.
Recessed luminaires, tracks, coves, wall connections, or control systems require timely coordination. Otherwise, compromises arise that weaken the lighting effect.
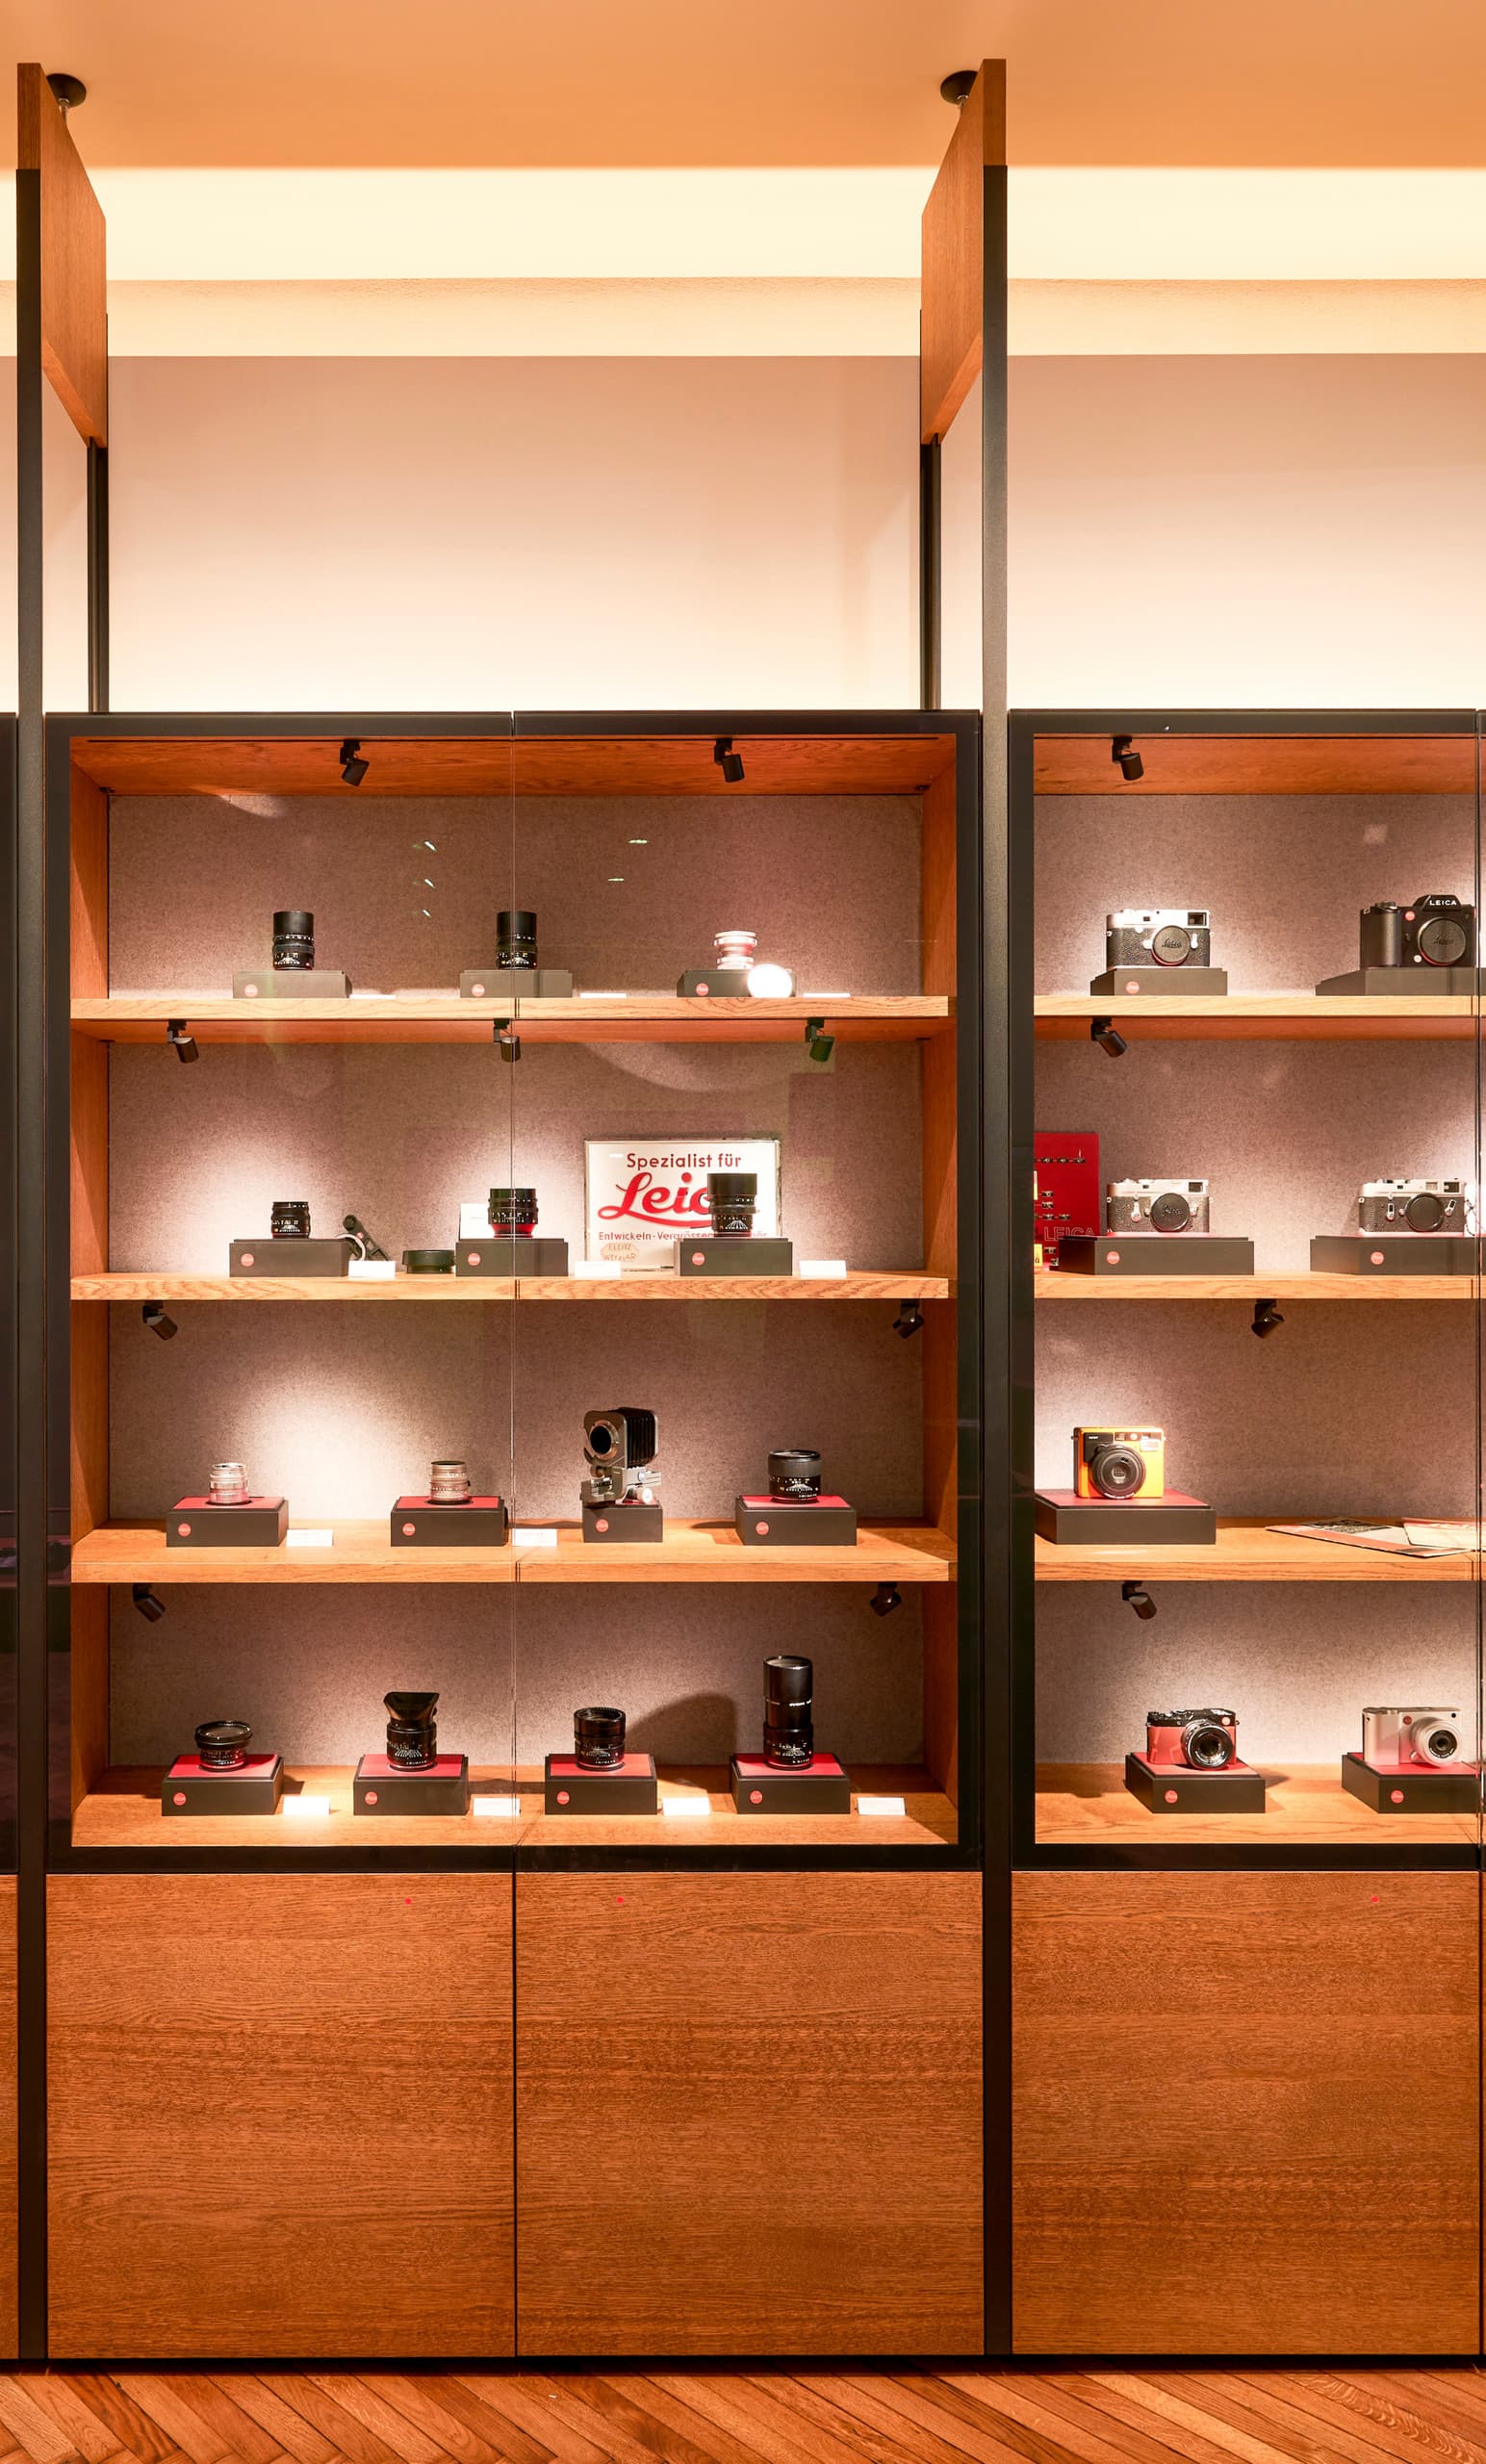
Use visualisations to make light easy to understand. Show your clients not only plans, but also the effects: bright and dark zones, focal points, wall surfaces, shadows, the effect of materials, and atmosphere.
Add samples when surfaces, glare, or light colour are of decisive importance.
Include mock-ups when spaces are particularly high-quality, complex, or sensitive. There you can check whether visual comfort, modelling, colour rendering, and spatial effect work at full scale.
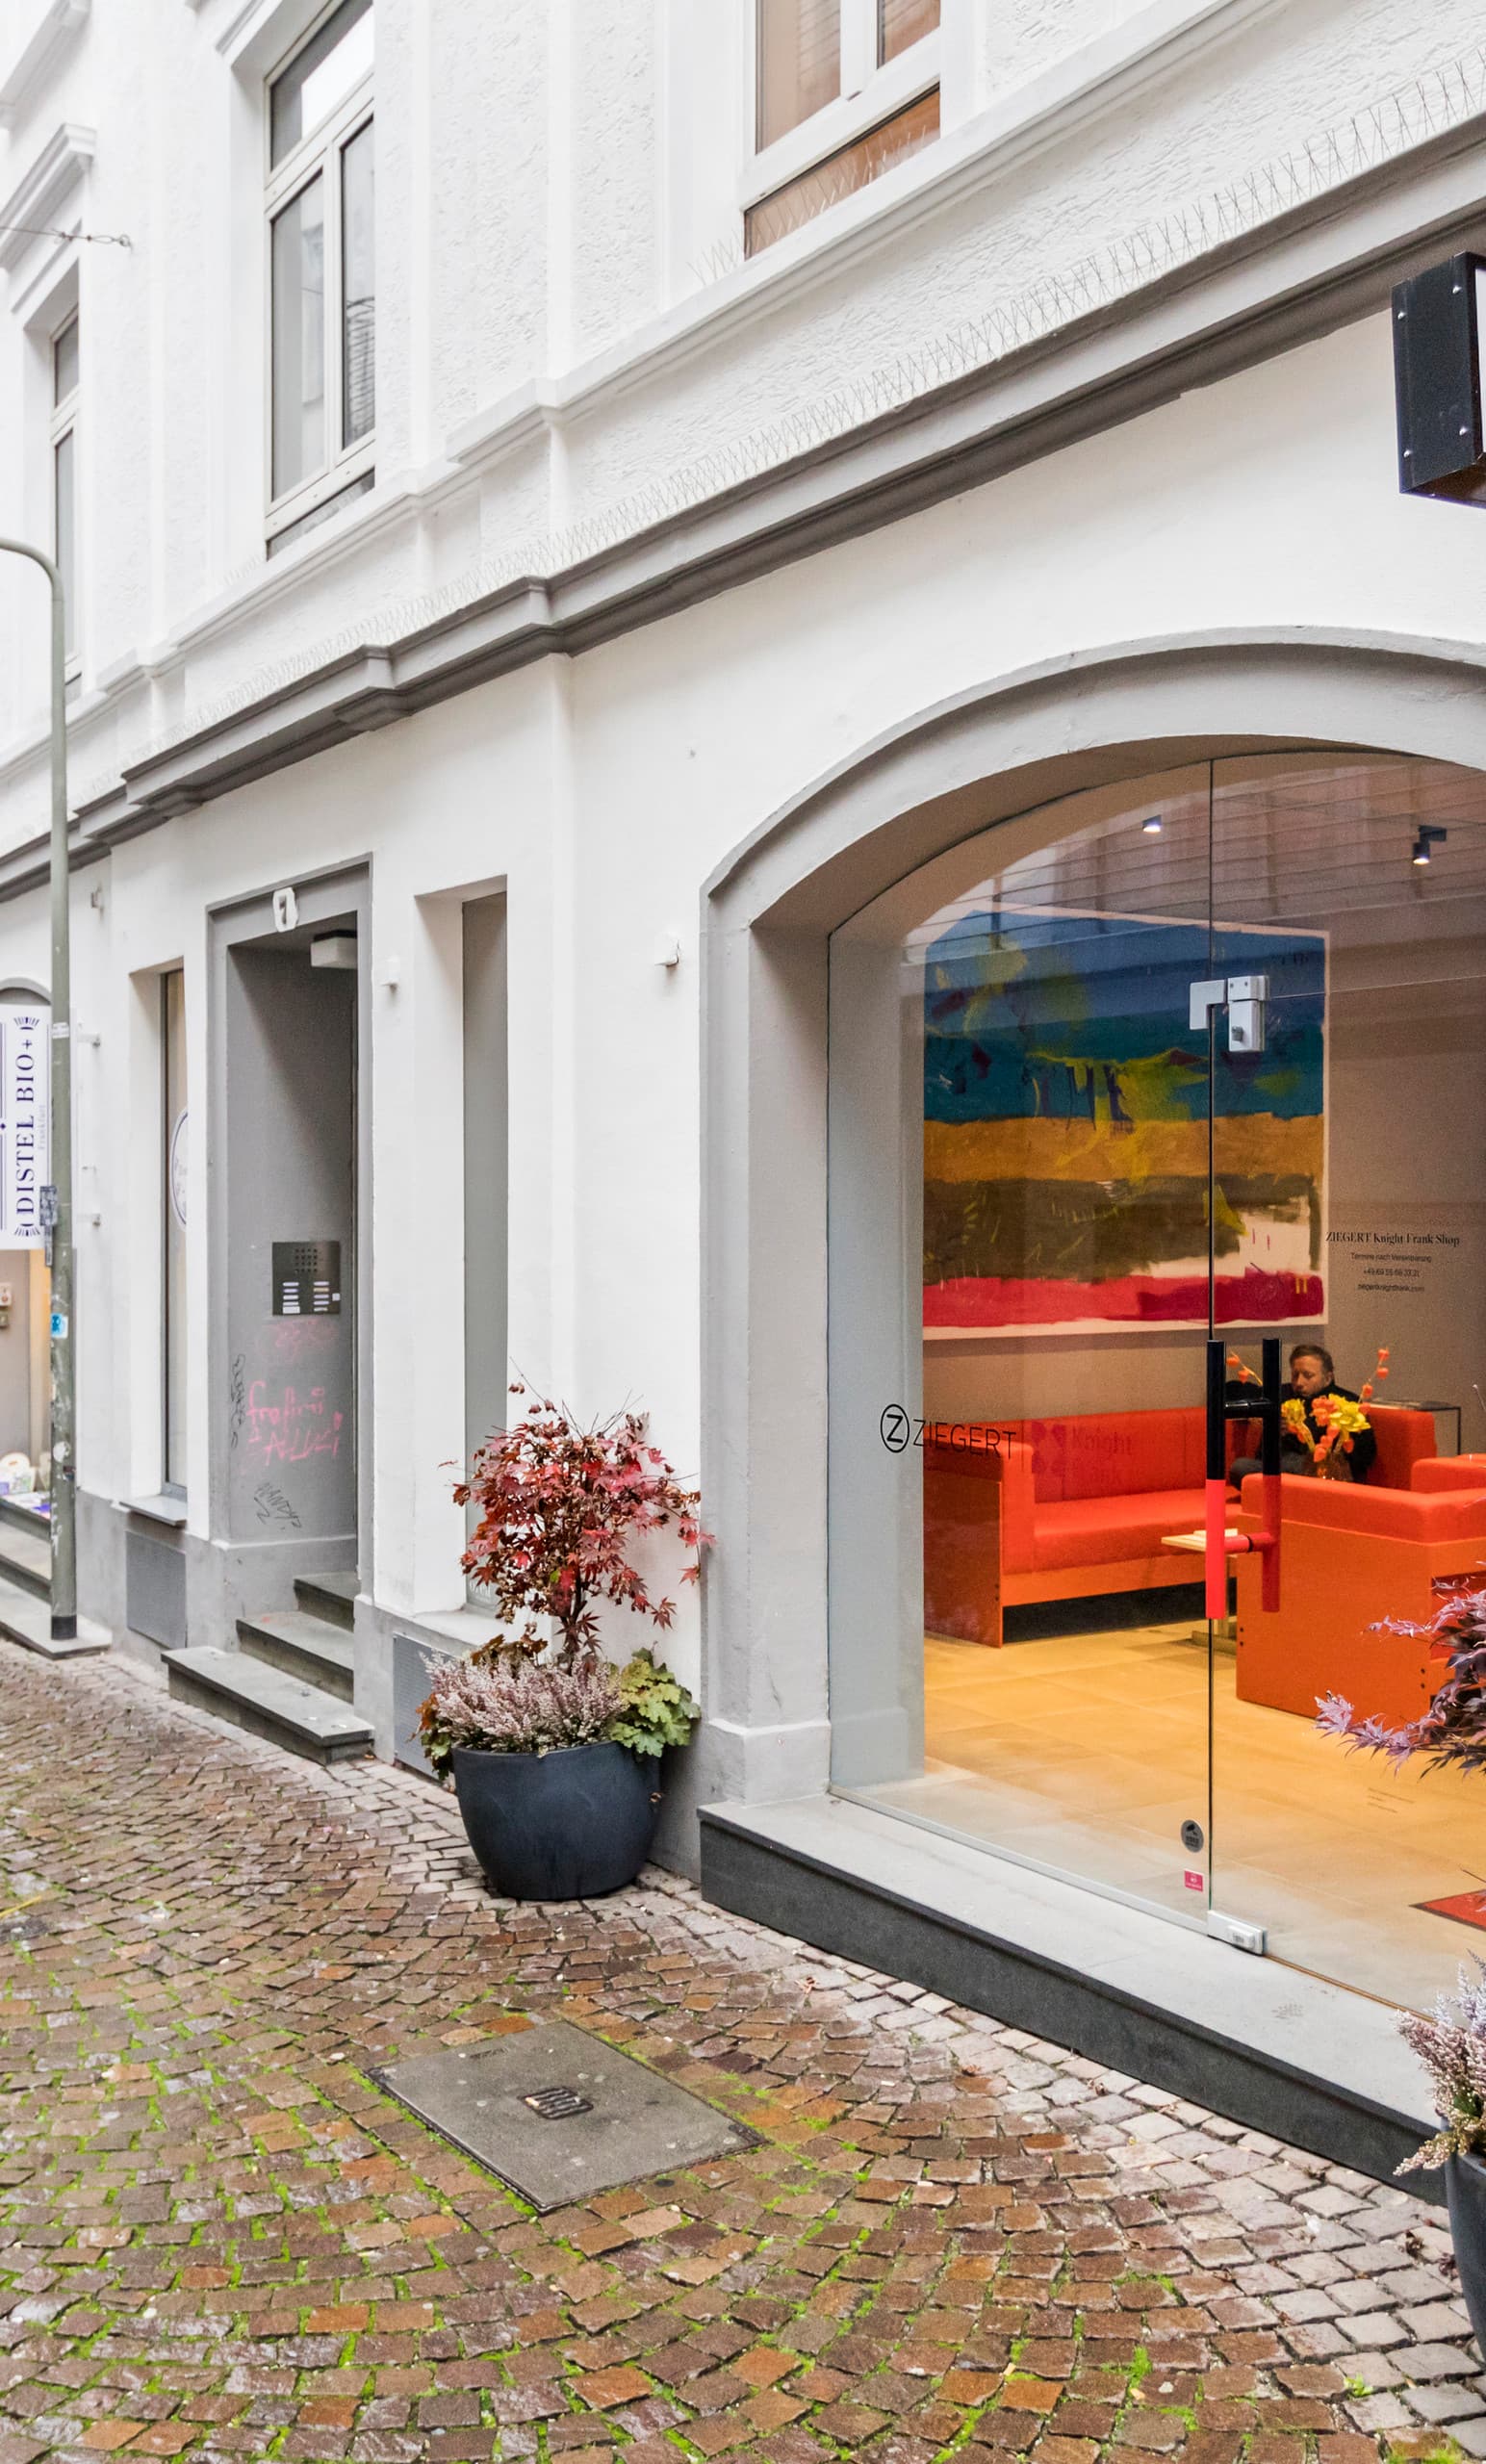
This is how you create a reliable process. You make lighting decisions transparent, involve everyone concerned in good time, and safeguard the quality of the architecture through to realisation.
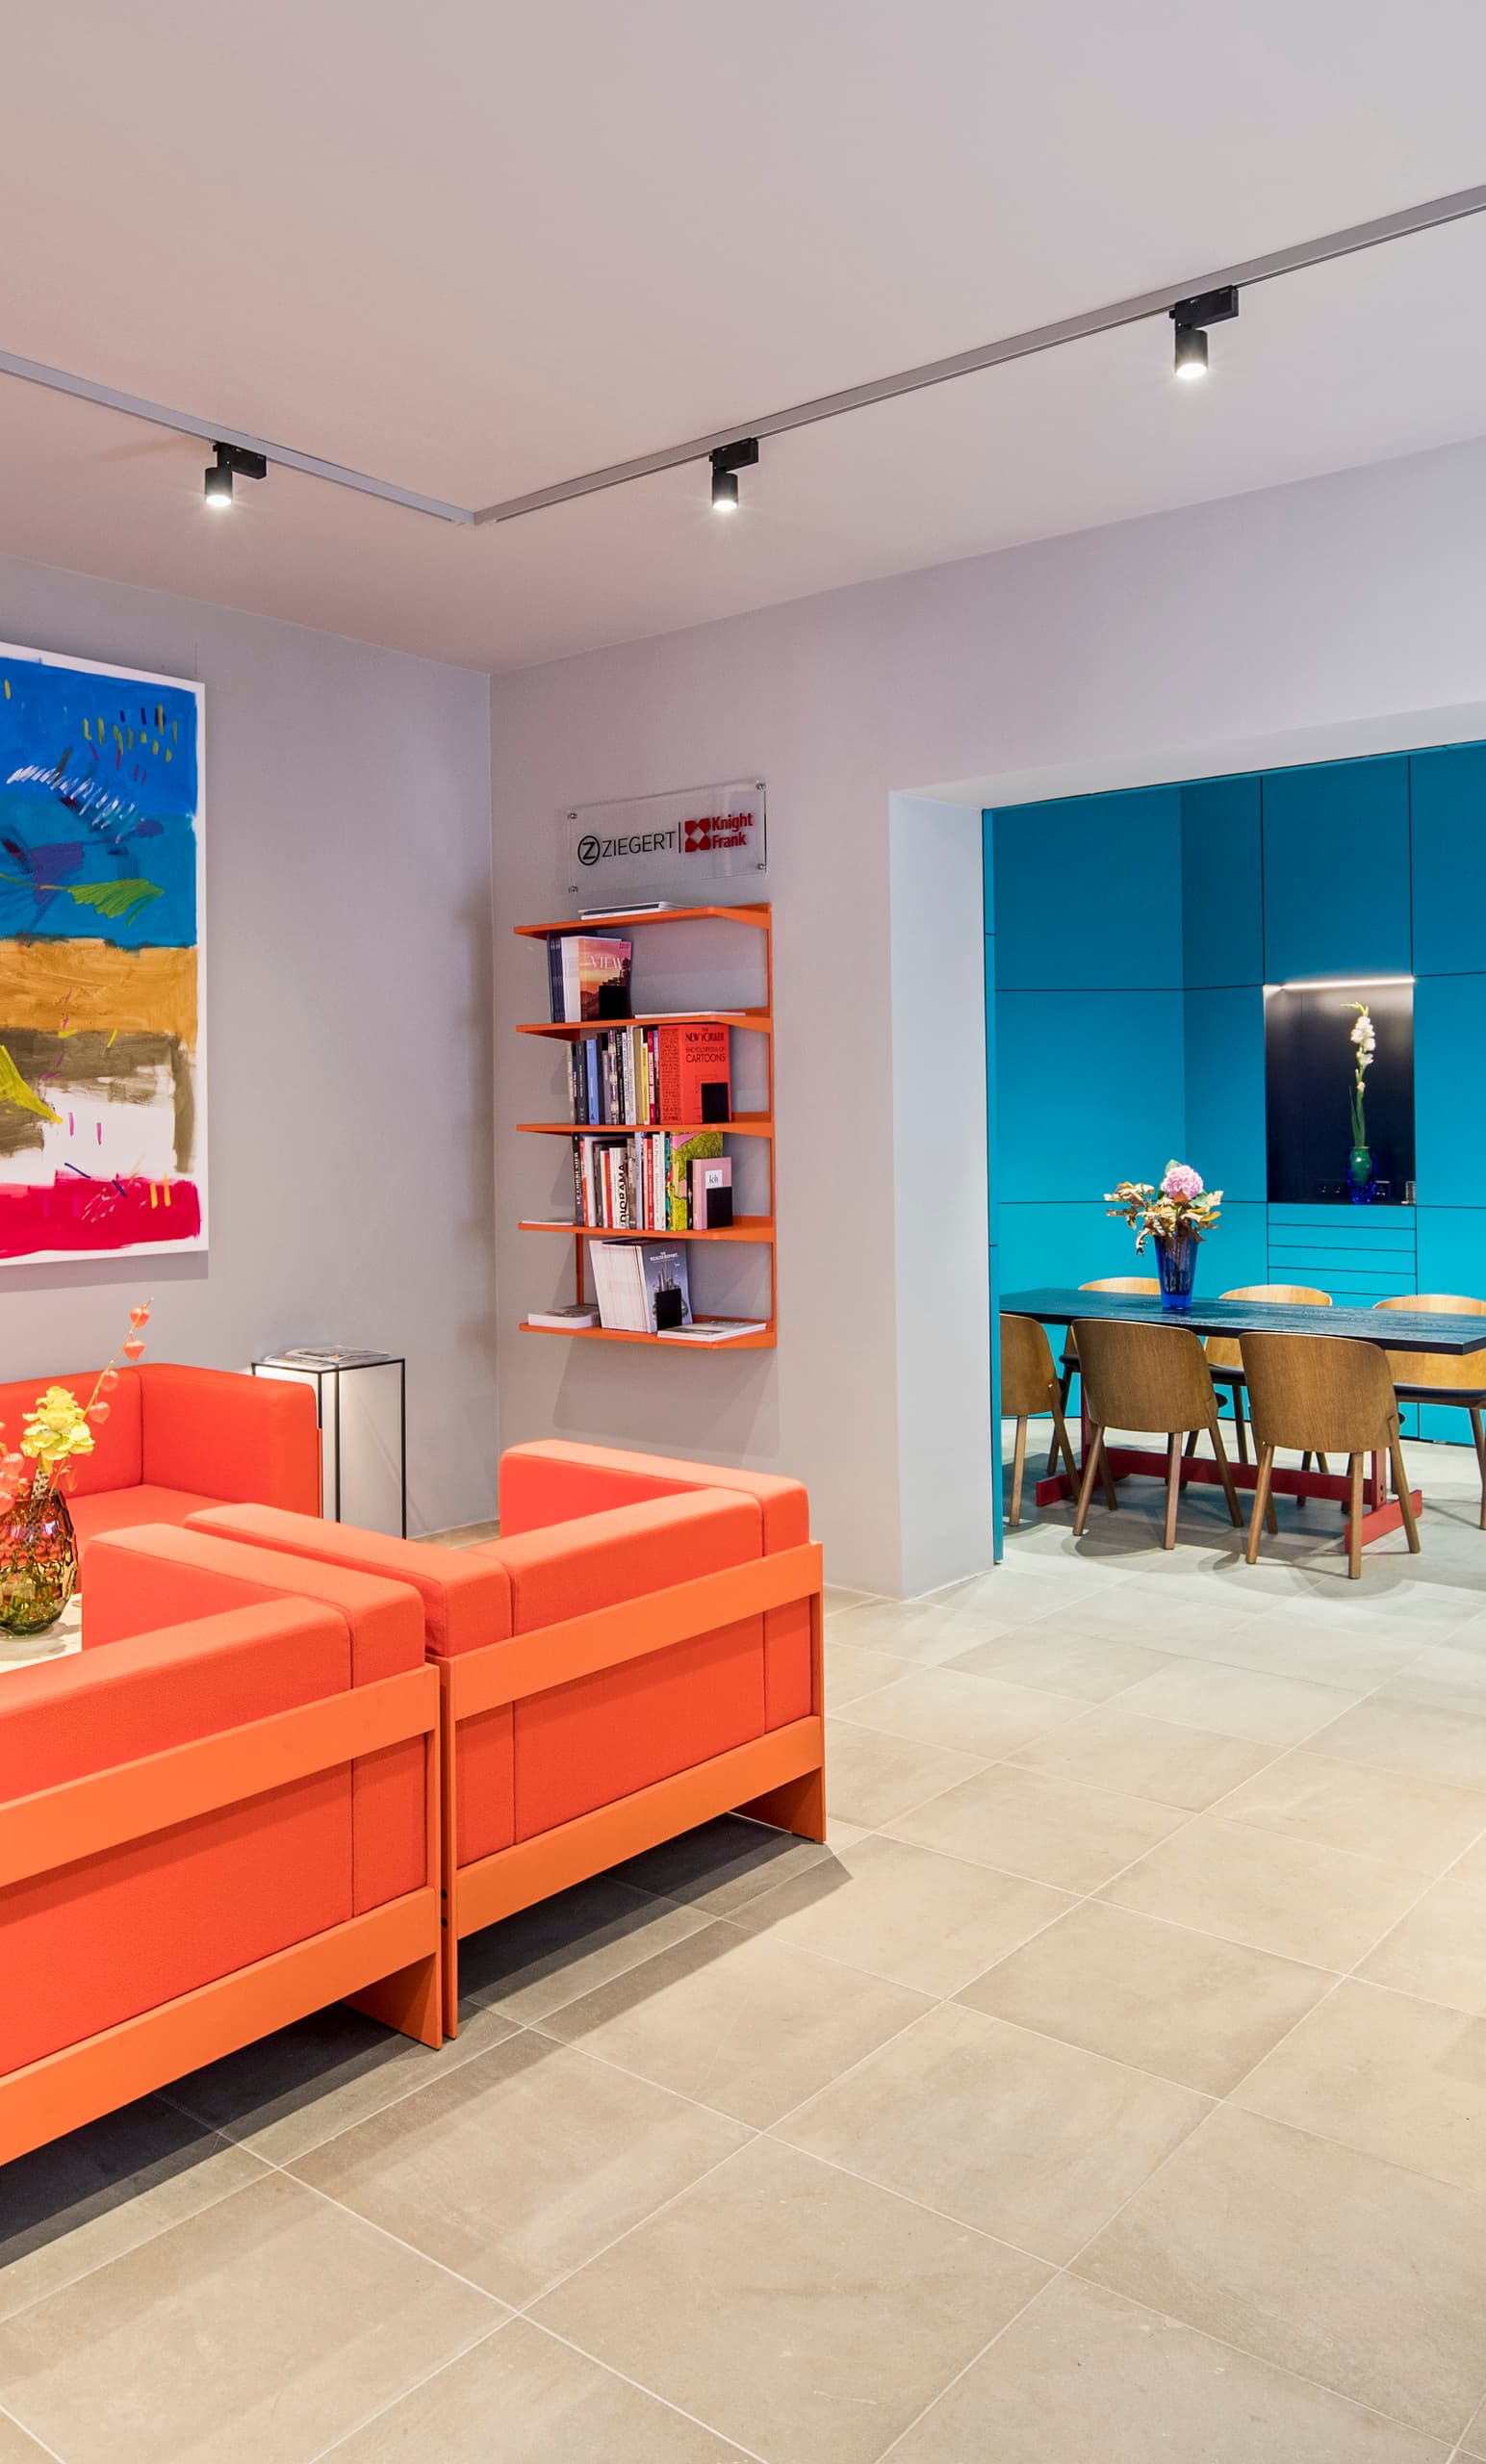
Checklist for the initial lighting design consultation
1 Clarify the target image and perception (What should be seen and experienced?)
- What atmosphere should be created? (prestigious, calm, functional, emotional, etc.)
- Which areas are visually important? (entrance, circulation routes, exhibits, work zones, etc.)
- Where should attention be directed specifically?
- Are there references or examples that describe the desired effect?
- Aim: A shared understanding of visual hierarchy
2 Understand the use and the space (How is the space actually used?)
- What activities take place? (working, presenting, living, retail, etc.)
- At what times of day is the space used?
- Which visual tasks are relevant? (reading, orientation, presentation, etc.)
- Which materials and surfaces define the space?
- What role does daylight play in the design?
- Aim: Link the lighting design to real-world use
3 Capture the architectural intention (What is the idea behind the design?)
- Which spatial qualities should be emphasised?
- Where do the axes, sightlines, and sequences of spaces lie?
- Which elements should recede and which should be highlighted?
- How important are staging and restraint?
- Aim: Light supports the architecture – not the other way round
4 Define the lighting strategy (How is the goal to be implemented conceptually?)
- Balance between:
- General lighting (orientation) light to see by | Atmospheric light (effect) light to look at |
- Accent light (focus) light to draw the eye
- More uniform or more contrast-rich?
- Should light be integrated invisibly or staged with intent?
- Goal: An initial, clear lighting idea | dramaturgy
5 Define quality requirements (What does "good light" mean in the project?)
- Requirements for: glare control | contrast / modelling | colour rendering
- Are there normative requirements? (e.g. workplaces)
- What role does visual comfort play?
- Goal: A shared understanding of lighting quality
6 Technical and economic parameters (What can realistically be achieved?)
- Budget for lighting
- Requirements for: energy efficiency | maintenance | service life
- Control desired? (dimming, scenes, automation)
- Goal: A balance between design and feasibility
7 Clarify process and collaboration (How does the work proceed from here?)
- Who takes on the lighting design? (architect, specialist planner, manufacturer)
- Which planning phases are envisaged?
- When are lighting decisions made?
- Need for: visualisations | samples | mock-ups
- Objective: A clear workflow without friction later on
8 Establishing a basis for decisions (What is taken away from the conversation?)
- Is there an agreed lighting concept in outline?
- Are the priorities clearly defined?
- Have open points and next steps been recorded?
- Objective: A binding basis for the next design phase
9 Summary to consider ahead of the meeting
- What should be seen?
- How is the space used?
- What is the architectural idea?
- What lighting effect is being sought?
- What are the underlying conditions?
Lesson completed!
The most important points
- 1Use as few points of light as possible, but as many as necessary, and integrate light directly into furniture or building components wherever possible.
- 2Decide early on who takes responsibility for the lighting design — the design team, an external lighting designer, or the luminaire manufacturer — to avoid friction later on.
- 3Coordinate lighting decisions in good time with the shell construction, ceiling structure, and electrical planning, rather than making them only at the end.

Next lesson